Description
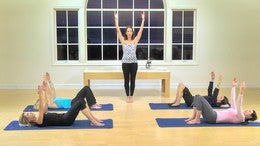
This tutorial is great to use in conjunction with Madeline's Mat Class for Breathing.
About This Video
Transcript
Read Full Transcript
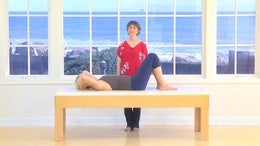
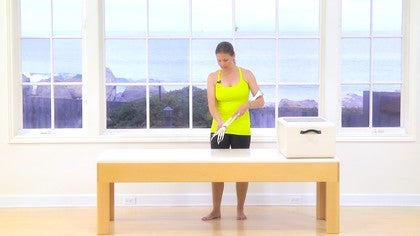
I'm going to show you how to provide props for your body while you're practicing your breathing. Um, the props are necessary because of the body structure and posture being compromised due to the restriction in breathing. And there are, uh, points that we want to have you neuromuscularly really relax the body. And many times you probably noticed when you lie down, there are still a lot of tension in the tension in the body is inhibiting your breath. So I'm going to show you an example of what you might feel when you lie down without props. So she can go lie down on the table. And some possibilities are when you lie down that there's tension in the back, you lie down and you can feel that there's still some holding in the back.
And that presents sometimes with the pelvis being just slumped down this way because of the tension or sometimes people lie down and there's quite a bit of space here, right? Either position will affect the diaphragm position, especially in the pelvis. The pelvis part of your breathing is just as important as the actual diaphragm. So we want to have the pelvis in a position where the muscles can just relax. We're going to show you how to do that.
The other places you might notice that for some people because of the restricted breathing in the upper chest here, that that the back is a little bit more rounded here, which then sends you as you can see, the head back in a position and the chest collapse. So we're gonna prop it so that we're actually gonna bring the chest up into a position where you can breathe better. If your chest is collapsed, it's harder to breathe and then supporting the head. And then the other place we're going to consider as feeling the shoulders. So we have tension in the chest from lack of breathing or in insufficient breathing. So the shoulders are actually can be quite a bit up off the floor, off the mat or the floor that you're on. So what we're going to want to do is support the shoulders so that the musculature in the front can just relax.
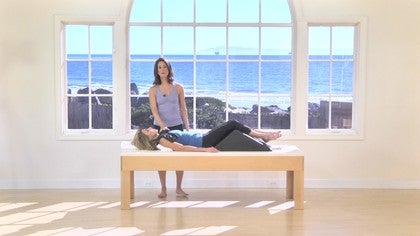
So we're not holding tension in the Pectoralis. Okay? So this is how we're going to look first for the head and upper back. You can take a bath towel and fold it so that it's thin, I mean not too thin, but you'll have to decide a thickness for yourself. So I'm just going to try fold it and I want the towel to actually start at the shoulder blade here so it doesn't matter how much hangs off this end. So go ahead and lie down. So here's her shoulder blades, the bottom of the shoulder blade.
So there's the towel and that thickness gives her a little bit more lift of her chest. Now we have to support the head and again, some people might need more head support than she does and then we support the head. So there we are. So now her chest is in a lifted position but relaxed and the head is being supported so the throat muscles can also relax to ease the breathing. Then next we have for the her shoulders, I folded up a hand towels and we're going to play some way under you want to close so that you want to find the person. Should tell you, oh my shoulders feel relaxed. They're not gonna look, uh, like a perfect ballerina chest and shoulders. We're not going for the look. We're going for position of the tension here to be relaxed so there isn't holding in the Pec muscles here. And then for the lower back we have a wedge, which is very nice to use, but you could use a stack of pillows or you could use a yoga bolster.
And is that good too? And that now takes the tension out of the lower back. And in this position it's more optimal now to practice the breathing from the breathing class. The images that we used, uh, working with the breath and relaxing. Now we're going to add one more thing to the chest, which is more of a stretch. So you don't want to practice breathing in this position too much. Just want to breathe. Normally if you could get, uh, some sandbags, um, or ankle weights, these are ankle weights, maybe five pounds, maybe 10 pounds.
Uh, you go to a yoga prop store. They do have these weighted sandbags that are nice weight. So what we want to do is place them on the shoulder to get weight, to stretch and open the chest there. So it's very gentle. And at first, if you're doing the weight to start to open the chest here at first, only do it for maybe three to five minutes at first, and then take the weights away and stay in this position and breathe, and then gradually add more time. So this is a nice position to be in, to be practicing your breathing.
Begin Pilates: Modifications for Classes
Comments
You need to be a subscriber to post a comment.
Please Log In or Create an Account to start your free trial.
